I was asked if MCP9008 Temperature sensor can be replaced with the less precise but widely available LM75 one. The answer is YES, it can be done without any problems, actually they can share same slot on CBDB Dev Board without any hardware changes, just choose your desired I2C address with the A0, A1, A2 pins.
FEATURES
• SO-8 package
• I2C Bus interface, frequency range up to 400 kHz
• Separate open-drain output pin operates as interrupt or comparator/thermostat output
• Register readback capability
• Power up defaults permit stand-alone operation as thermostat
• Shutdown mode to minimize power consumption
• Up to 8 LM75s can be connected to a single I2C bus
• Supply Voltage 3.0V to 5.5V
• Supply Current operating 250uA typical – 1mA max
• Supply Current shutdown 1 mA typical
• Temperature Accuracy : -25°C to 100°C – ±2°C(max)
-55°C to 125°C – ±3°C(max)
For more details please see LM75 Datasheet
LM75 package is a small SO-8 one but with a SO-8 to DIP adapter will fit great in our CBDB extension slot. And as you can see from the picture below, it looks huge compared to MCP9008 MSOP8 🙂
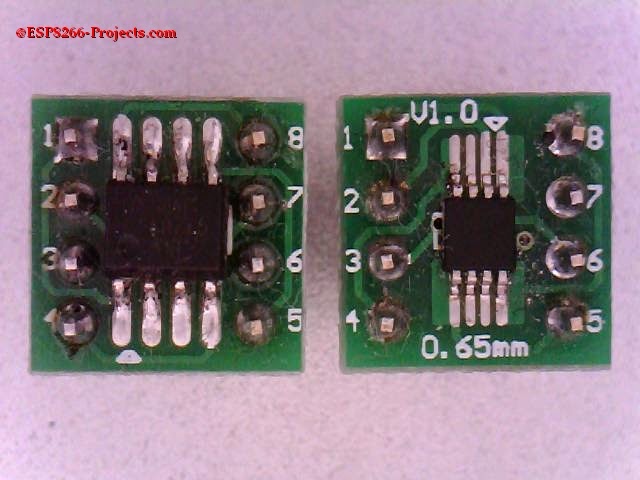 |
| LM 75 vs. MCP9808 |
What we will need:
- CBDB Board
- USB adapter (take a look on Part 1 for details how to connect them together)
- LM75 Module from above
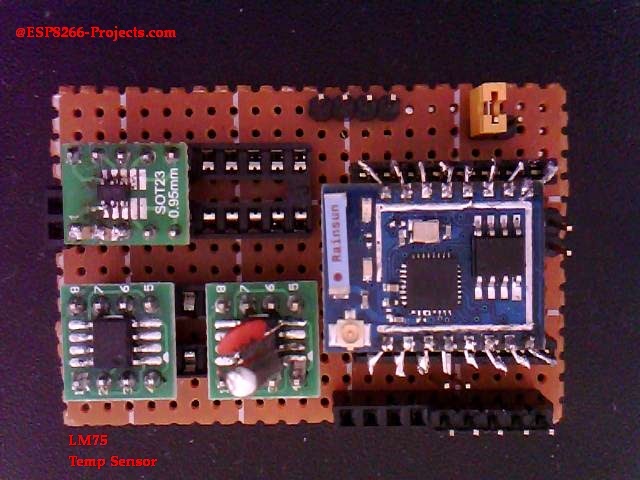 |
| CBDB Board with LM75 in I2C Temperature slot |
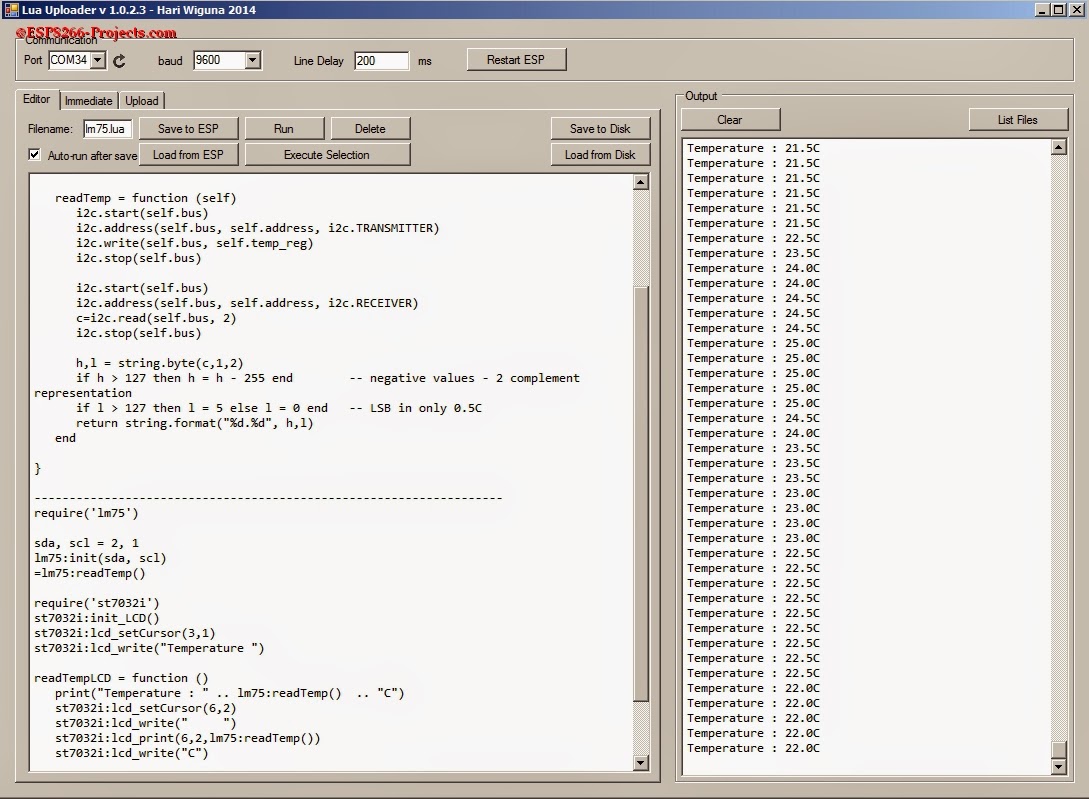
For programming and uploading the driver and the software we will continue to use the LuaUploader as before.
Driver implementation
As LM75 has a I2C compatible compatible interface, building a driver for it it’s a pretty straigh forward process.
The temperature data format is 9 bits, two’s complement, and the register is read out in 2 bytes: an upper byte and a lower byte. Bits D15–D7 contain the temperature data, with the LSB representing 0.5°C and the MSB representing the sign bit. The MSB is transmitted first. The last 7 bits of the lower byte, bits D6–D0, are don’t cares
1. Init I2C bus/interface
    address = 72,                            -- A2, A1, A0 = 0 -> GND
      temp_reg = 0,
      bus = 0,

      init = function (self, sda, scl)
         self.bus = 0
         i2c.setup(self.bus, sda, scl, i2c.SLOW)
      end
   readTemp = function (self)
      i2c.start(self.bus)
      i2c.address(self.bus, self.address, i2c.TRANSMITTER)
      i2c.write(self.bus, self.temp_reg)
      i2c.stop(self.bus)

      i2c.start(self.bus)
      i2c.address(self.bus, self.address, i2c.RECEIVER)
      c=i2c.read(self.bus, 2)
      i2c.stop(self.bus)

      h,l = string.byte(c,1,2)
      if h > 127 then h = h - 255 end        -- negative values - 2 complement representation
      if l > 127 then l = 5 else l = 0 end   -- LSB in only 0.5C
      return string.format("%d.%d", h,l)
   end
   printTempLCD = function ()
      print("Temperature : " .. lm75:readTemp()  .. "C")
      st7032i:lcd_setCursor(6,2)
      st7032i:lcd_write("     ")
      st7032i:lcd_print(6,2,lm75:readTemp())
     st7032i:lcd_write(242)
     st7032i:lcd_write("C")
end
     require('lm75')          --call for new created LM75 Module Driver
      sda, scl = 2, 1           --declare your I2C interface pins
     lm75:init(sda, scl)    -- I2C Init
     =lm75:readTemp()   -- read temperature

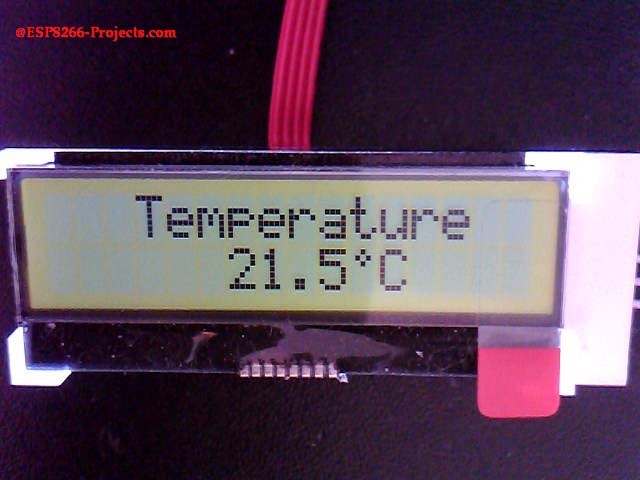
    require('st7032i')                               -- call for LCD module
    st7032i:init_LCD()                            -- init lCD
    st7032i:lcd_setCursor(3,1)               --set cursor position
    st7032i:lcd_write("Temperature")    --print on LCD

     -- read data every 1 second print it on lCD
     tmr.alarm(0,1000,1, function() printTempLCD() end)
