This is Part 2 of the Wifi Dev Board for Home Automation series. For general presentation and hardware description please take a look also at Part 1 of the series
MPRSx8 Board is available also on Tindie store: https://www.tindie.com/stores/nEXT_EVO1/
What we will need:
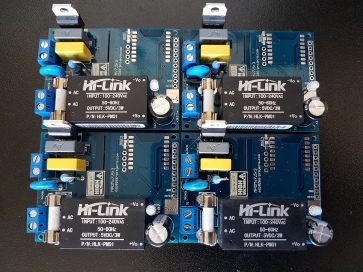
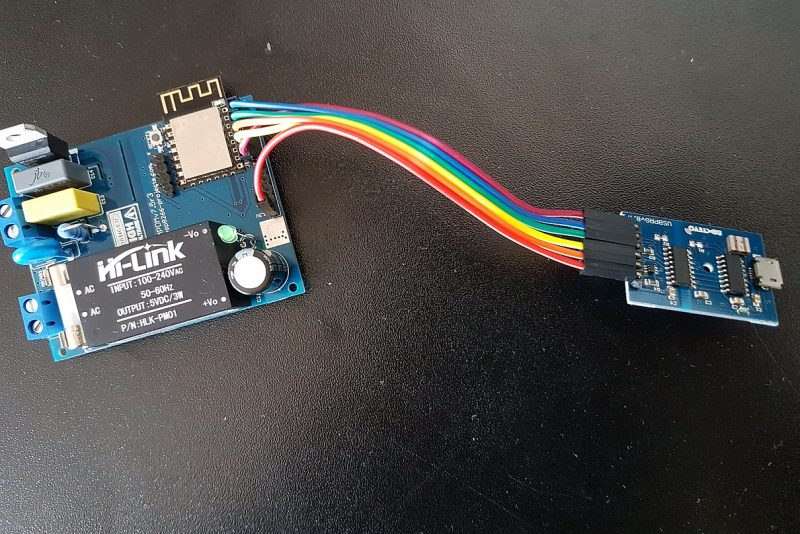
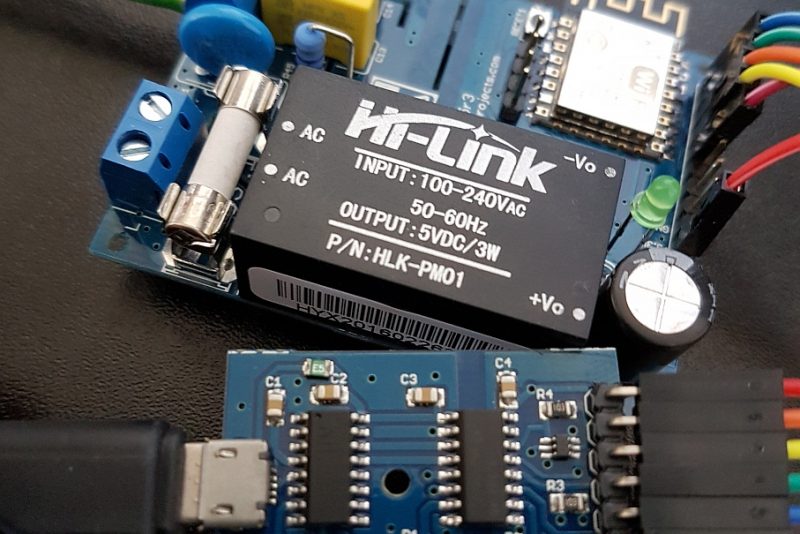
- MPRSx8 Board
- ESP8266 ESP-12E module loaded with ESPBasic firmware
- For programming we will use the brilliant ESP Basic interpreter Web editor
Software implementation:
As this time we will talk about the Software side we will design a very simple driver for our board that will include also a interactive Web command interface for the MPRSx8 Home Automation Dev Board Relays.
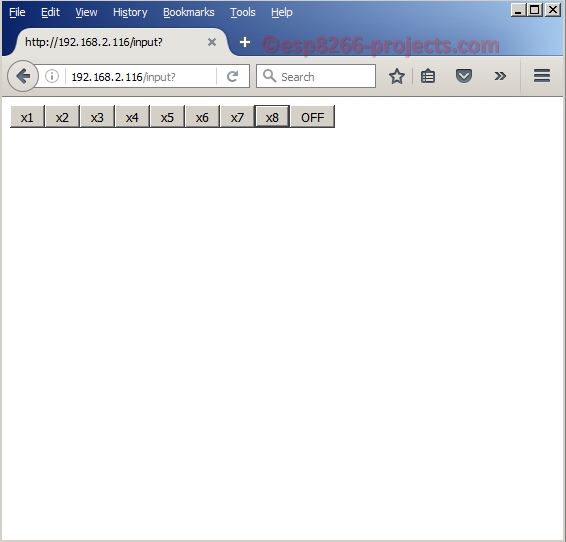
To keep things simple, we will just add in our Web Interface 8 ON/OFF Buttons and one general OFF one, from where we can turn ON/OFF all the Relays switches.
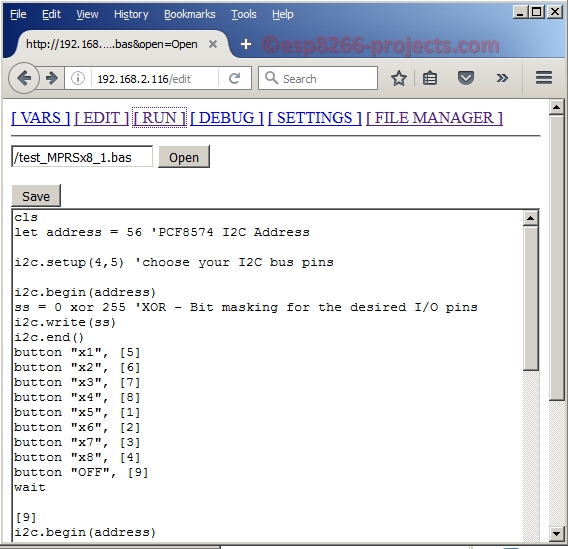
1. Main Program
cls                       ' clear interface
let address = 56  'PCF8574 I2C Address

i2c.setup(4,5)      'choose your I2C bus pins

i2c.begin(address)
ss = 0 xor 255      'XOR - Bit masking for the desired I/O pins
i2c.write(ss)
i2c.end()
button "x1", [5]    ' Button for Relay 1
button "x2", [6]
button "x3", [7]
button "x4", [8]
button "x5", [1]
button "x6", [2]
button "x7", [3]
button "x8", [4]    ' Button for Relay 8
button "OFF", [9] ' General OFF for all the Relays
wait
2. General OFF for all the Relays subroutine
[9]
i2c.begin(address)
ss = 0 xor 255 'XOR - Bit masking for the desired I/O pins
i2c.write(ss)
i2c.end()
wait
3. Subroutines for each Button
[1]
i2c.begin(address)
ss = ss xor 1   'XOR - Bit masking for the desired I/O pins
i2c.write(ss)
i2c.end()
wait

[2]
i2c.begin(address)
ss = ss xor 2
i2c.write(ss)
i2c.end()
wait

[3]
i2c.begin(address)
ss = ss xor 4
i2c.write(ss)
i2c.end()
wait

[4]
i2c.begin(address)
ss = ss xor 8
i2c.write(ss)
i2c.end()
wait

[5]
i2c.begin(address)
ss = ss xor 16
i2c.write(ss)
i2c.end()
wait

[6]
i2c.begin(address)
ss = ss xor 32
i2c.write(ss)
i2c.end()
wait

[7]
i2c.begin(address)
ss = ss xor 64
i2c.write(ss)
i2c.end()
wait

[8]
i2c.begin(address)
ss = ss xor 128
i2c.write(ss)
i2c.end()
wait
In the Web editor interface Save your program as “test_MPRSx8_1.bas” and Run it.
If all OK the result should look as below:
If you want your program to start automatically at reboot/power ON then just Save it as “default.bas” and also from Settings Tab enable the “Run default.bas at startup“.

Be aware that at start-up/reboot, it is a delay before your program will start automatically.