In this Part3 of the MPDMv4 AC Dimmer ESPEasy series we are talking about the changes that need to be done for a Windows 7 Domoticz installation.
You can find more details about ESP Easy firmware HERE, on the ESP Easy WIKI page
What we will need:
– ESP8266 NextEVO Board
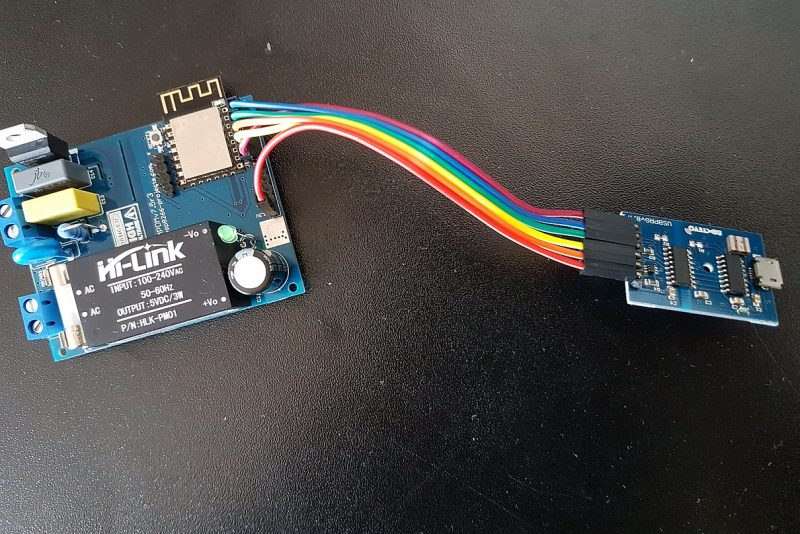
– MPDMv4 Universal AC Dimmer – available also on Tindie Store !
– ESP Easy firmware
– Domoticz – Windows version
– CURL for Windows
– PC with Windows 7 OS installed
The installation process is pretty straight forward so I will not insist to much on it:
1. Install Domoticz
2. Install CURL
3. Save LUA script in Domoticz \scripts\lua folder
4. Check that you don’t have any Firewall/AV/Whatever program blocking the Network IN/OUT traffic for the needed programs and Ports !
For the used version of CURL for Windows installed I was forced to change a bit the sintax, nothing fancy, just see below:
runcommand = "curl http://" .. IP .. "/control?cmd=PWM," ..PIN.. "," .. CalcValue .. " ";
Software
Updated LUA Script for Domoticz for WINDOWS MPDM4 Universal AC Dimmer implementation:
commandArray = {}
DomDevice = 'MPDMv4_Dimmer';
IP = '192.168.2.106';
PIN = "5";
if devicechanged[DomDevice] then
   if(devicechanged[DomDevice]=='Off') then
     print ("OFF dimm = "..uservariables['dimm']);
     CalcValue = 890;
   else if(devicechanged[DomDevice]=='On') then
        DomValue = uservariables['dimm'];
        print ("ON dimm = "..uservariables['dimm']);
        CalcValue = DomValue;
      else
         print("Other");
         DomValue = otherdevices_svalues[DomDevice];
         CalcValue = 900-(DomValue*9);
         commandArray['Variable:dimm'] = tostring(CalcValue);
         print ("dimm Level = "..uservariables['dimm']);
   end
   end
   runcommand = "curl http://" .. IP .. "/control?cmd=PWM,"  ..PIN.. "," .. CalcValue .. " ";
   os.execute(runcommand);
print("PWM calculated value= "..CalcValue);
end
return commandArray
You need to save it in your Domoticz folder under “/scripts/lua/” subfolder as “script_device_MPDMv4_Dimmer.lua“
If followed the step-by-step setup from above and all OK, you should end up with a working MPDMv4 AC Dimmer interface as before under RaspberryPI 🙂


